Click on the picture and drag it to look around.
Dean Street arch in Newcastle
Dean Street arch as seen from the Tyne Bridge
The Tyne Bridge from bellow
Tyne and Gateshead Millennium Bridge
I noticed when researching the printer that there was a newer replacement extruder available and that the mk8 extruder that the printer came fitted with had an inherent problem where the plastic breaks and pinch wheel comes away. Fortunately we purchased the printer from the main supplier and they where offering the upgrade for free to their customers so I dropped them an email which was followed up by a call from Dan Safar from PrintME 3D. Good chat with him and he sent on the upgraded mk9 extruder. Thanks very much PrintME 3D and your support from your techs there 🙂
Here is what I found on opening up my mk8 extruders


I actually have no idea how they were supposed to work as there is no way to adjust for tension or varying thickness of filament. Its no wonder they are broken as the shaft for the bearing has to give to allow for this.
Considering that this is a brand new machine its pretty poor that both extruders are broken and I have done virtually no printing yet. So if you are considering purchasing a D4 then make sure it already has mk9’s or comes with them to fit.

The mk8’s are the same both sides so I guess you could buy a bit of time by switching them over from side to side.

Next problem to deal with is the head alignment, or rather to use the correct term if you want to find info on it, nozzle alignment. This is to get the two heads to print in the same place.
In RepG under onboard preferences you can find x and y head alignment and you can put the distance between the nozzles into the x parameter dialog box. I measured the distance with the calipers which turns out to be about 33.05mm. After that run the RepG nozzle calibration and pick the line which is aligned best then enter this in the nozzle calibration entry on the printer. Incidentally the printer will always show 7 when you recheck this but if you go back to the onboard preferences dialog you will see it has changed there.
During this process I found that the left feed was becoming worse and worse until it wasn’t really feeding at all.
I finally managed to get myself out of the house at a very late hour so that I could get unadulterated access to one of Edinburgh’s famous statues. Standing on the corner of George IV bridge and Candlemaker Row is a statue of a certain wee doog. Usually surrounded by tourists it would be normally very difficult to get near so I popped along just about midnight and only had a couple of drunks to deal with to get a scan of him.


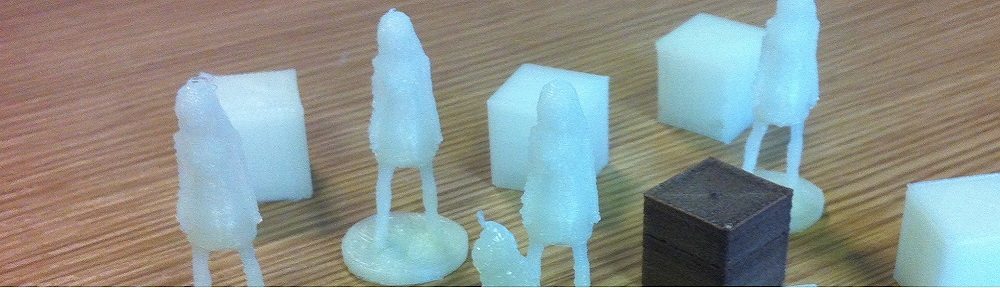
It doesn’t seem like it but the statue is actually quite high and I had to use my full reach to get the top of his head. I used the scan person/scan persons head setting and it came out quite well I think. The printed object looses a bit of resolution here as I havn’t tweaked the printer fully yet.
Also a handy tool for removing your printed object 🙂

Its pretty weighty and you only need to slide it along the bed to knock off your object.