During research into calibration I came across a youtube vid about setting the flow rate of the printer and the basis of this was print a test object and measure its wall thickness with a vernier caliper. I downloaded the test object but on loading it into Cura for printing the object came up on but the preview was blank ie nothing was going to print. I ran the print anyway just to check and indeed nothing was printed. I could not figure what the problem was so just left it as the printer was running ok.
Just recently though I was trying to print a cookie cutter that I had modeled in AC3D and some parts of it were also missing in the preview window. Ok so this got annoying.
As it happened at the same time new version of Repetier-Host appeared that used the Cura engine and the print looked mostly ok in this s/w. So what was the difference??
The answer is Shell-Thickness. The combination of this setting and the size of the print head aperture determine the number of passes needed to make up the wall (I am not sure what the formula is yet.) The upshot of this is that I can now print the test object with out a problem. You can even lie about the print head size to vary the results.


A couple of initial tests. The missing bit is just where the initial layer blobbed.

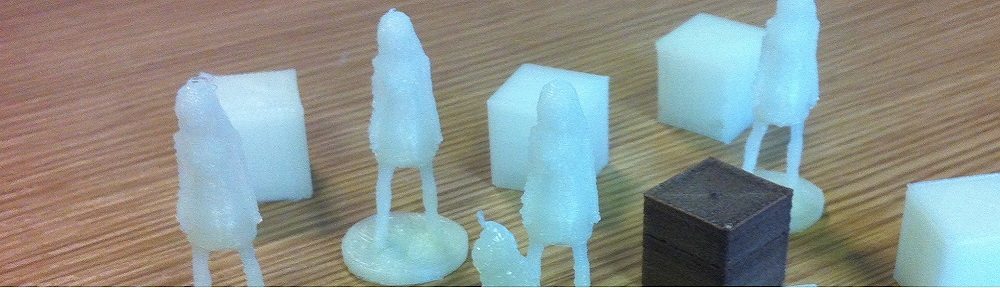
Test prints changing different variables.
I left the calipers at work so I don’t quite yet know what the optimum setting is yet but got flow rate down to 70% of its current setting before things went badly wrong.