Setup and first print.

So the Duplicator 4 is out of its box and on the bench. Then what? No instructions in the box so what to do. Rummaging on the internet I find the drivers. It uses a package called ReplicatorG . I was hoping to extract the drivers from the install and carry on using Repetier-Host or Cura but it seems this printer does talk reprap as its a clone of the Makerbot 2.

ReplicatorG is basic. And Crude. And not much fun. Compared with Cura or Repetier its like something out of the Arc with little sophistication or granular control. In fact its like a DOS program.

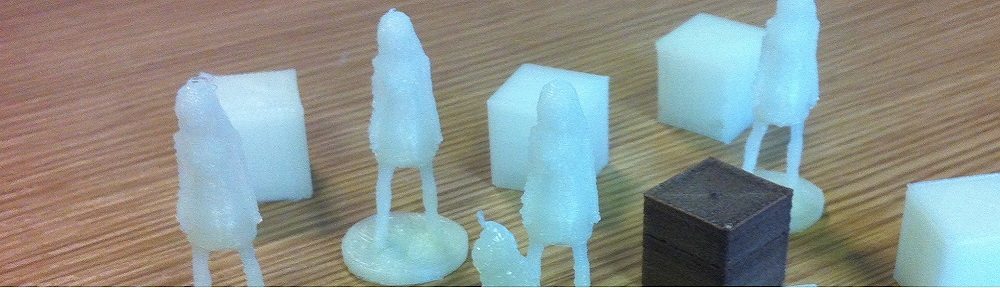
Installed all the software and give it a go with my usual 20mm cube.

Brakes on. Erms.. maybe I should make sure that the heads aren’t going to crash into the bed first. Pushing a few buttons on the front brings up the bed leveling procedure, however I see that the bed is a little to high and the heads are just going to trash right into it.

Underneath the bed are four knurled nuts you need to do up a bit to get the bed down. One had fallen off. Then run the leveling prog which moves the head around the bed and you adjust the nuts using a piece of paper to get the height right.

So on with the printing. First using the left print head.

IMG_0363IMG_0364


Booger! It wont stick. Try again with a higher bed temperature 80 degs instead of the usual 50 degs I use for PLA.

IMG_0365


Just as it reached the end it came unstuck. Booger again.

Whats in the box?

Hmmm… What do we have here?

IMG_0359


Yey! Looks like the new printer has arrived 🙂 Lets get it opened.

IMG_0360


Nice and woody and some assembly required too.

IMG_0362


You need a first class degree in spatial reasoning to get the included two reels of filaments out of the inside the printer.

IMG_0361


Also five other colours and two rolls of ninjaflex flexible filament.

Shell Thickness: An undiscovered setting.

During research into calibration I came across a youtube vid about setting the flow rate of the printer and the basis of this was print a test object and measure its wall thickness with a vernier caliper. I downloaded the test object but on loading it into Cura for printing the object came up on but the preview was blank ie nothing was going to print. I ran the print anyway just to check and indeed nothing was printed. I could not figure what the problem was so just left it as the printer was running ok.

Just recently though I was trying to print a cookie cutter that I had modeled in AC3D and some parts of it were also missing in the preview window. Ok so this got annoying.

As it happened at the same time new version of Repetier-Host appeared that used the Cura engine and the print looked mostly ok in this s/w. So what was the difference??

The answer is Shell-Thickness. The combination of this setting and the size of the print head aperture determine the number of passes needed to make up the wall (I am not sure what the formula is yet.) The upshot of this is that I can now print the test object with out a problem. You can even lie about the print head size to vary the results.

IMG_0352IMG_0354


A couple of initial tests. The missing bit is just where the initial layer blobbed.

IMG_0366


Test prints changing different variables.

I left the calipers at work so I don’t quite yet know what the optimum setting is yet but got flow rate down to 70% of its current setting before things went badly wrong.

ABS printing

I wanted to try the Kensington lock adapter in ABS to see if it would be stronger than PLA. To do this I need to heat the bed much higher (100+ degs) and print at a much higher temperature (230-260 deg). I have also read that ABS is susceptible to warping in drafts so it is best to contain the printer in some way. Some of the newer models actual are fully enclosed to maintain a constant temperature. ie MakerBot Z18 and the Duplicator 4X

In addition ABS does not stick very well to the print bed and its a good idea to use ABS slurry (ABS melted in acetone) or hair spray, which it turns out is much the same thing. I went with hair spray as I don’t have any acetone.

My problem turned out to be that the heat bed on my printer would not heat to anything more than 89 degs and even then slowly failed to maintain even this on each subsequent print. Solutions to this maybe using a higher voltage on the heater element, fully enclosing the printer or even replacing the thick aluminium sheet and glass plate with a mirror. If I remember right Ikea do a 200×200 mirror so I might go get one. Glass is essential to get a super smooth finish on the under side of a print.

But I did manage to produce some output even so. I didn’t bother fiddling around to much as it seemed like the higher bed temperature was indeed needed.

IMG_0350

The first print on the left was bitty due to low head temperature and the second came unstuck. The third printed fine and I will test this glued to the side of the cupboard at a later date.

Da Lock!

Recently I have been glueing a load of kensington lock plates on to stuff so that folks don’t wander off with them. Admittedly these aren’t going to stop folks actually stealing them but it stops casual theft and ups the level of mental criminality. These little things are expensive and turn out to be rather difficult to find to purchase in the UK. So what to do? Yep you guessed it print my own. So fire up the 3D modelling software which we just seem to have about and make a model.

There is no real world measurement in the software so the first prototype is a bit on the big size.

IMG_0330 IMG_0329


What I made next to what I was after. Obviously way to big. It also occurred to me that the ends were round for a reason, ie corners are easy places to get leverage to ping it off.

kensington008


IMG_0331 IMG_0332


An here are the final results. In the first the hole is a little to big and not deep enough. The second is pretty close and needs a tiny adjustment and its ready to go.

And here a few printed at different fill densities stuck to the side of a cupboard for testing.

IMG_0334